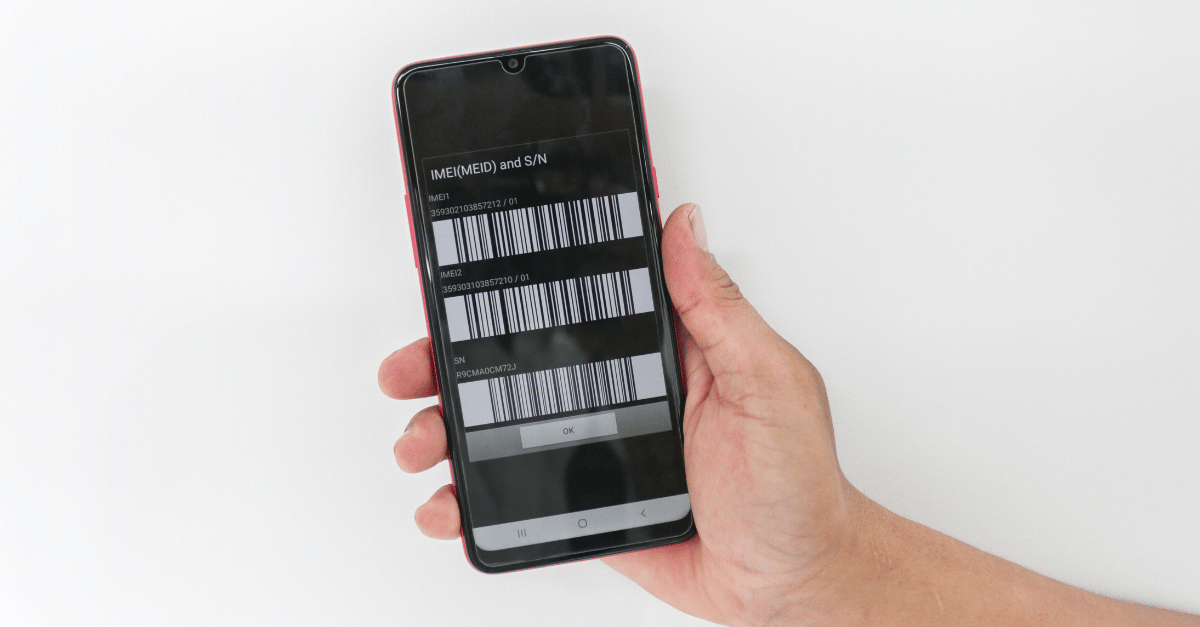
IMEI Changer: How To Change IMEI Number Permanently
Asenqua Tech is reader-supported. When you buy through links on our site, we may earn an affiliate commission.
✎ Key Points:
» Modifying your IMEI number is possible for MTK devices using the MTK Droid tool.» First, enable the USB debugging option and connect your device to a PC to replace your original IMEI number with a new one.
How To Change IMEI Number Permanently:
There exist various methods to alter your device’s IMEI number without requiring root access. Here are the two most recommended methods:
1. Switching to SIM IMEI
You can change the SIM IMEI directly through your phone’s dial pad, following these detailed steps:
Step 1: Open your phone’s dial pad from the applications section by launching the Phone application.
Step 2: Once the dial pad is open, dial either ##3646633## or *#7465625#.
Step 3: Access CDS Information.
Step 4: Choose Radio Information.
Step 5: If your Android device features dual SIM, you’ll have the option to select between IMEI_1 (SIM 1) and IMEI_2 (SIM 2).
Step 6: Choose the SIM whose IMEI number you intend to change.
Step 7: A message resembling AT +EGMR=1,7,”IMEI_1″ (for SIM 1) or “AT +EGMR=1,10,”IMEI_2” (for SIM 2) will appear on your screen.
Step 8: Replace the existing IMEI1 or IMEI2 numbers with any other random IMEI numbers of your choice, then press SEND.
2. Change IMEI Number on MTK Device
You can change the IMEI number on MTK Devices without needing to root your device. Follow these specific steps tailored for non-rooted devices:
Step 1: Confirm access to the developer’s options. If not enabled, tap the Build number several times to activate it.
Step 2: Return to the developer’s options and activate USB debugging mode.
Step 3: Connect your smartphone to your computer using a USB cable.
Step 4: Launch MTKdroid tools on your computer as an administrator.
Step 5: Click the ROOT button to gain temporary root access. Wait until the small box on the left side turns green.
To change the IMEI number, select the IMEI/NVRAM option. Replace the old IMEI Numbers with the new ones and then click on “Replace IMEI.” Confirm by selecting “Yes” on the subsequent box that appears on the screen.
How To Change IMEI Number Permanently With Root:
You can use the Xposed Installed tool to change the IMEI with root access.
1. Using Xposed Installer
Here’s an alternative method to change your IMEI number using third-party applications like Xposed Installer and IMEI changer. This process requires your Android device to be rooted for successful execution. Follow these steps after installing both applications:
Step 1: Open the Phone app in your device’s application section to access the dial pad.
Step 2: Dial *#06# using the dial pad to view your current IMEI number on the screen.
Step 3: Note down or remember the displayed IMEI number for future reference.
Step 4: Install the IMEI changer app on your device. Then, open the Xposed Installer app.
Step 5: Inside the Xposed Installer app, access the Modules option.
Step 6: Locate and select the IMEI Changer app by marking the checkmark box.
Step 7: Reboot your device. You can either reboot it through your phone’s settings or via the Xposed Installer app.
Step 8: After restarting, open the IMEI Changer app. The current IMEI number will be displayed.
Step 9: Tap on the New IMEI Number box, input the new IMEI number, and then press the Apply button to save the changes.
Step 10: Reboot your device once again. To confirm the new IMEI number, use the dial pad and dial *#06#. This will display the updated IMEI number on your screen.
2. On PC Using SDK Tool
To change your Android device’s IMEI number using the SDK Tool, follow these steps on a PC:
🔴 Steps to Follow:
Step 1: Open the Settings on your Android device, then scroll down and tap on “About Phone.”
Step 2: Tap on “Build Number” 5 to 8 times until a pop-up message appears, indicating “You are now a developer.”
Step 3: Navigate to “Developer Options” now available in the settings.
Step 4: Enable “USB Debugging” under Developer Options. Download the SDK emulator Tool on your PC.
Step 5: Additionally, download and extract the HEX Editor. Make sure to also download the device driver.
Step 6: Connect your Android device to your PC. Run the program named “xvl32.exe” and then open the file called “emulatorarn.exe.”
Step 7: Once completed, press Control+F and navigate to CGNS. Modify the IMEI number displayed after +CGNS.
Step 8: On your Android device, check the new IMEI number by dialing *#06# on the dial pad.


